
Home Bitcoin mining has evolved faster than almost anything else in this space. Not long ago, we were thrilled to own a single air-cooled Bitaxe Gamma 601, and now I’ve got a water-cooled, eight-chip monster sitting on my desk. In this guide, I’ll walk you through how far home mining has come, break down the NerdOctaxe Hydro, and show you exactly what happened when I put it through a full overclocking benchmark.
In this guide, you’ll learn:
- How home Bitcoin mining evolved from the Bitaxe to the NerdOCTaxe Hydro
- The full spec breakdown of this eight-chip, water-cooled ASIC
- How to run an overclocking benchmark to find your most efficient and most powerful settings
- The real hash rate and wattage numbers I got at both ends of the spectrum
- What the AxeOS firmware limits mean for pushing these chips further
- Realistic solo mining odds and daily earnings across multiple networks
Table of Contents
- How Far Home Bitcoin Mining Has Come
- What’s Inside the NerdOctaxe Hydro
- Step 1: Set Your Starting Voltage and Frequency
- Step 2: Check Your Temperature Headroom
- Step 3: Run the Benchmark and Read the Results
- Solo Mining Odds and Profitability
- Where to Buy the NerdOctaxe Hydro
- Watch the Full Video Guide
- Frequently Asked Questions
- More Bitcoin Mining Guides
How Far Home Bitcoin Mining Has Come
Let’s go back in time for a second. A short while ago, being able to own a Bitaxe Gamma 601 felt like a big deal. It gave regular people the chance to run a professional Bitcoin mining ASIC chip in a small unit right in their homes. That single air-cooled chip let us learn about mining and gave us a real shot at hitting a Bitcoin block ourselves.
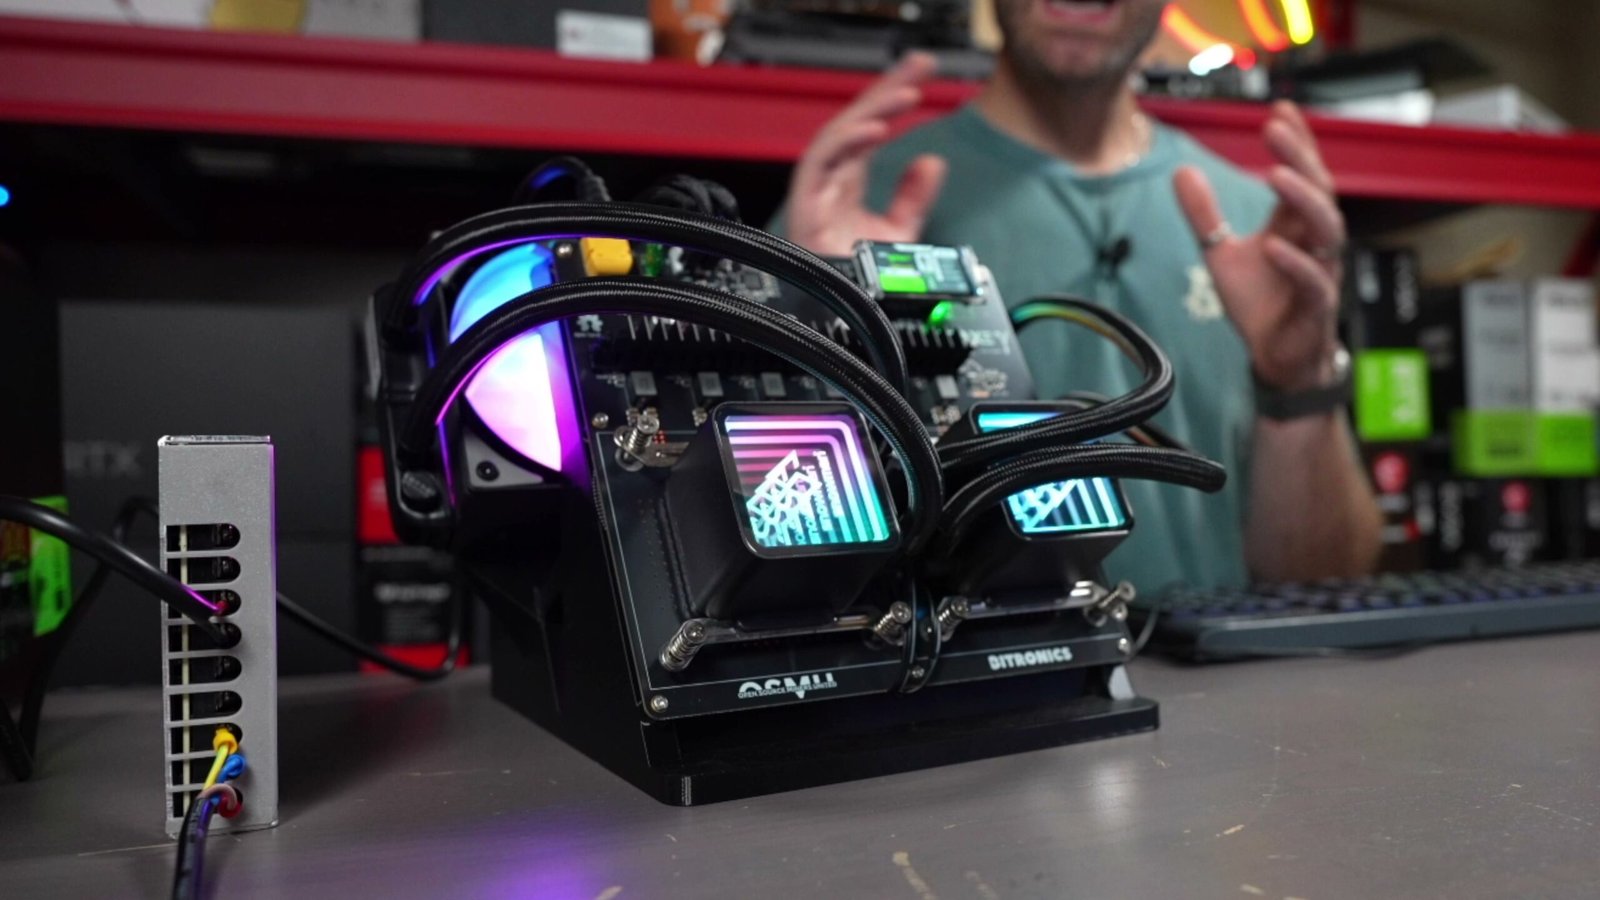
Fast forward to today, and I’ve got the NerdOctaxe Hydro in front of me. We’ve gone from a single air-cooled ASIC chip to eight water-cooled ASIC chips. That’s a massive leap in a very short period of time, and it shows just how quickly the makers, developers, and designers in this space are pushing things forward.
What’s wild is that even the NerdOctaxe itself went through its own rapid evolution before landing on this Hydro version.
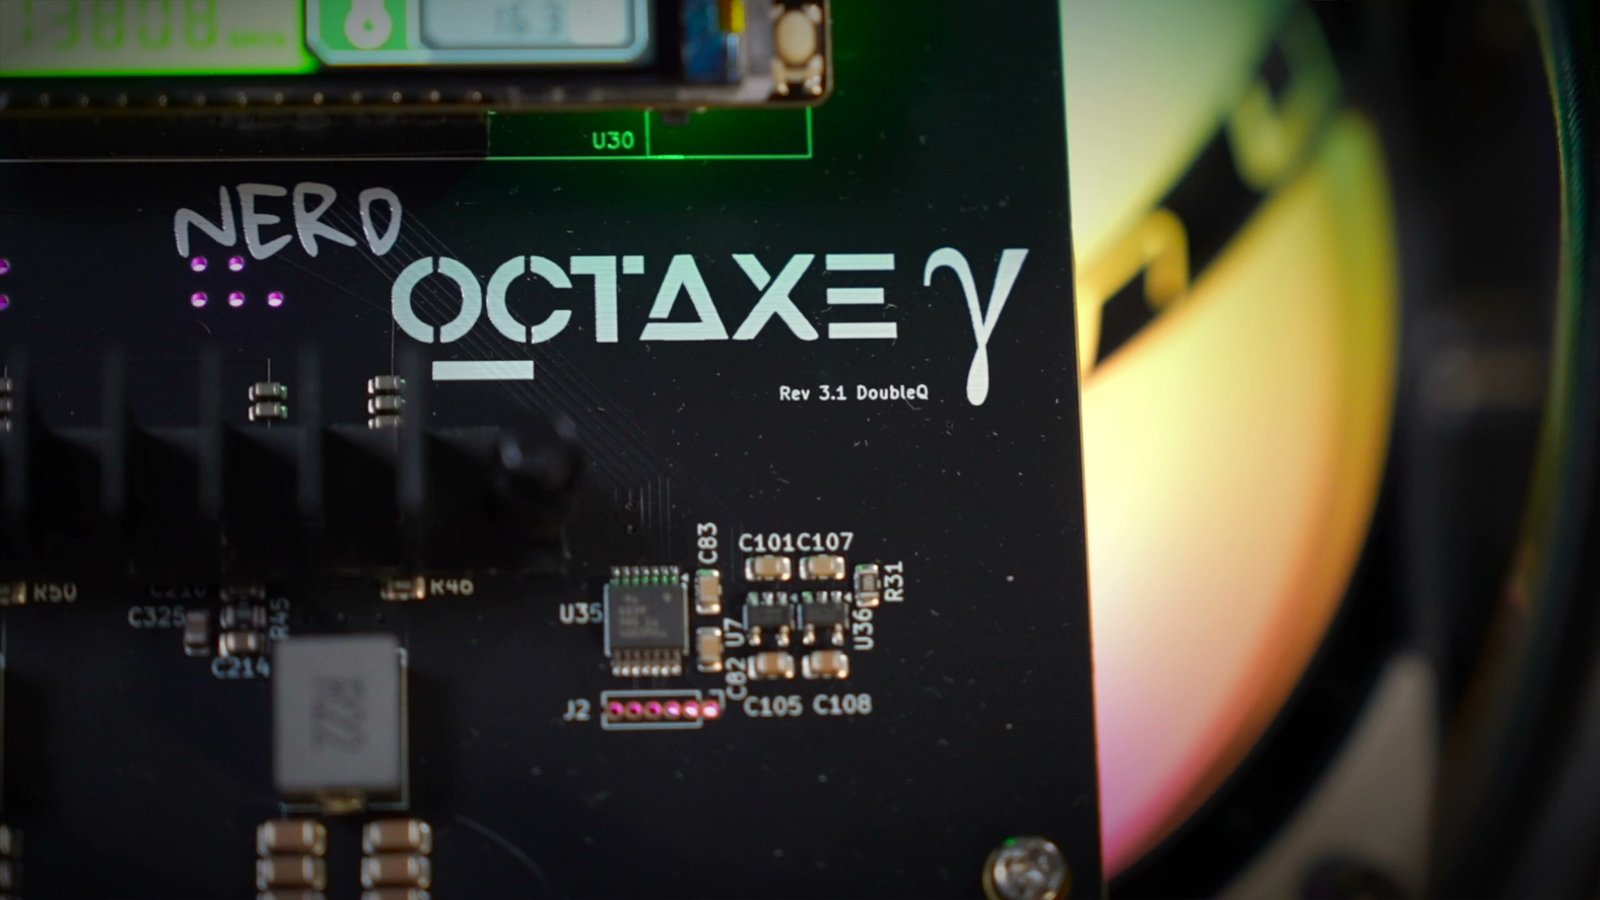
The Evolution of the NerdOctaxe
Here’s how the generations progressed:
| Version | Cooling | Fuse | Peak Hash Rate |
|---|---|---|---|
| Original NerdOCTaxe | Air-cooled | 15A | 9.6 TH/s |
| NerdOCTaxe v3.1 | Air-cooled | 20A | 12 TH/s |
| NerdOCTaxe Hydro | Water-cooled | 30A | ~14 TH/s (overclocked) |
The first batch produced 9.6 TH/s on a 15-amp fuse. But that wasn’t enough. The energy management system was redesigned, the fuse was upgraded to 20 amps, and we got an eight-core rig capable of peaking at 12 TH/s. They still weren’t satisfied. They bumped the fuse to 30 amps and chose water cooling as the best way to keep all eight ASIC chips cool even under heavy overclocking. And that’s how we ended up with the NerdOCTaxe Hydro.
What’s Inside the NerdOctaxe Hydro
This is an AxeOS-based device running eight ASIC chips. Out of the box, I’m using it with default frequencies and base voltages:
- Frequency: 700 MHz (default)
- Base voltage: 1210 mV (default)
- Stock hash rate: around 11.4 TH/s
- Cooling: Full water cooling system to keep chips cool during overclocking
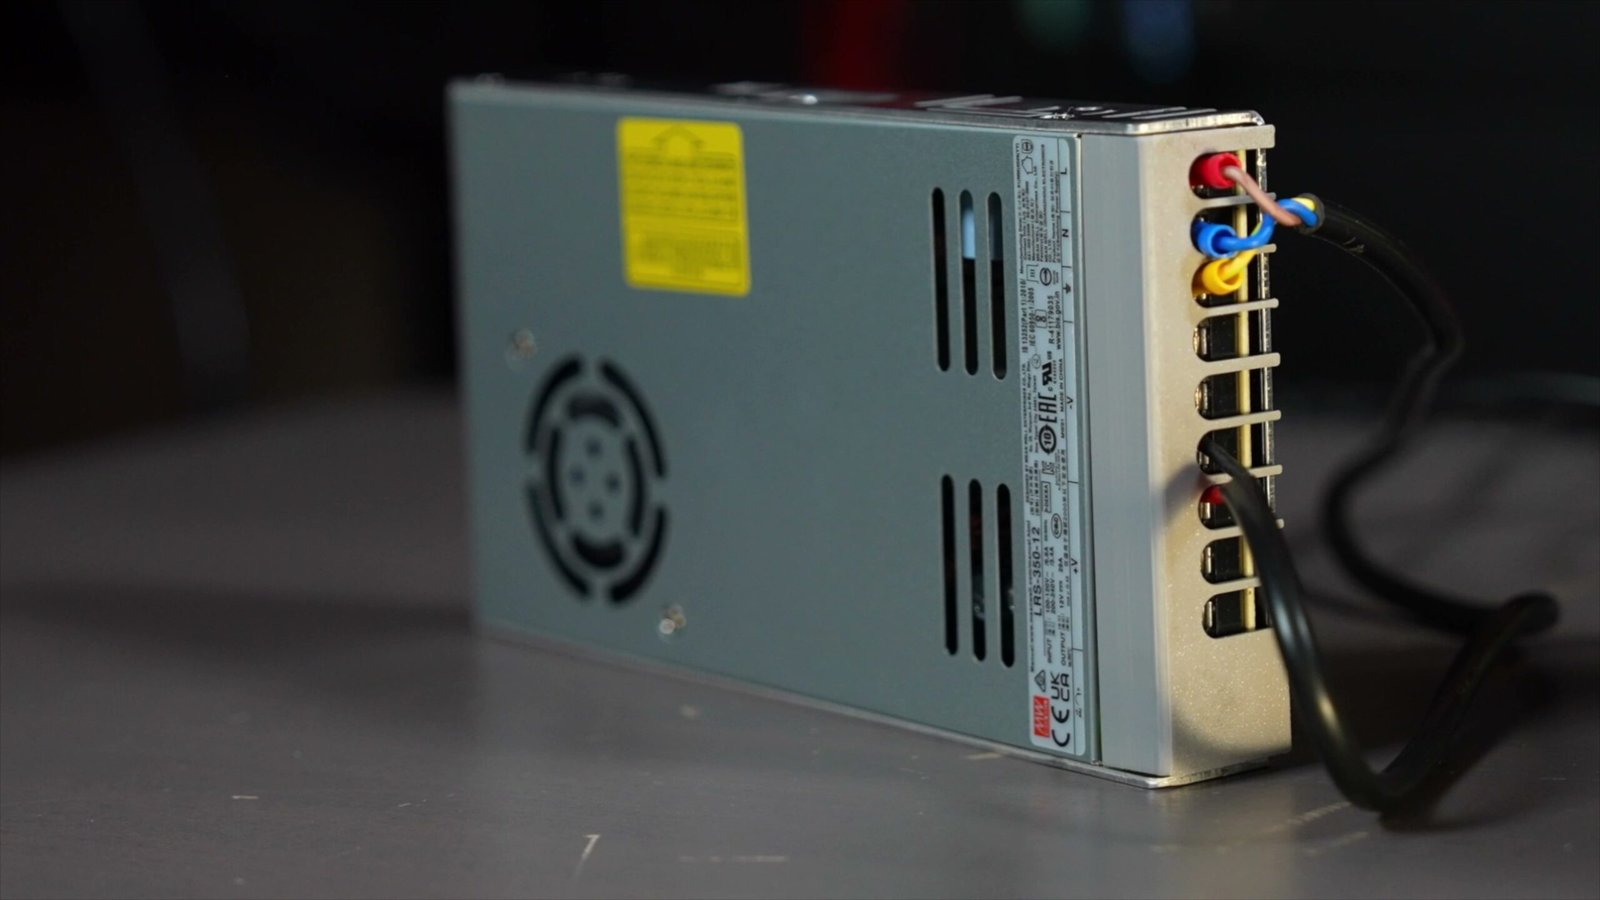
- Power supply: Upgraded unit specifically designed for overclocking
This device is built specifically for overclocking. The water cooling keeps the ASIC chips cool even when you push them hard, and the upgraded power supply gives you plenty of headroom. That’s exactly why I wanted to put it through a real test and see if it has any limits at all.
Step 1: Set Your Starting Voltage and Frequency
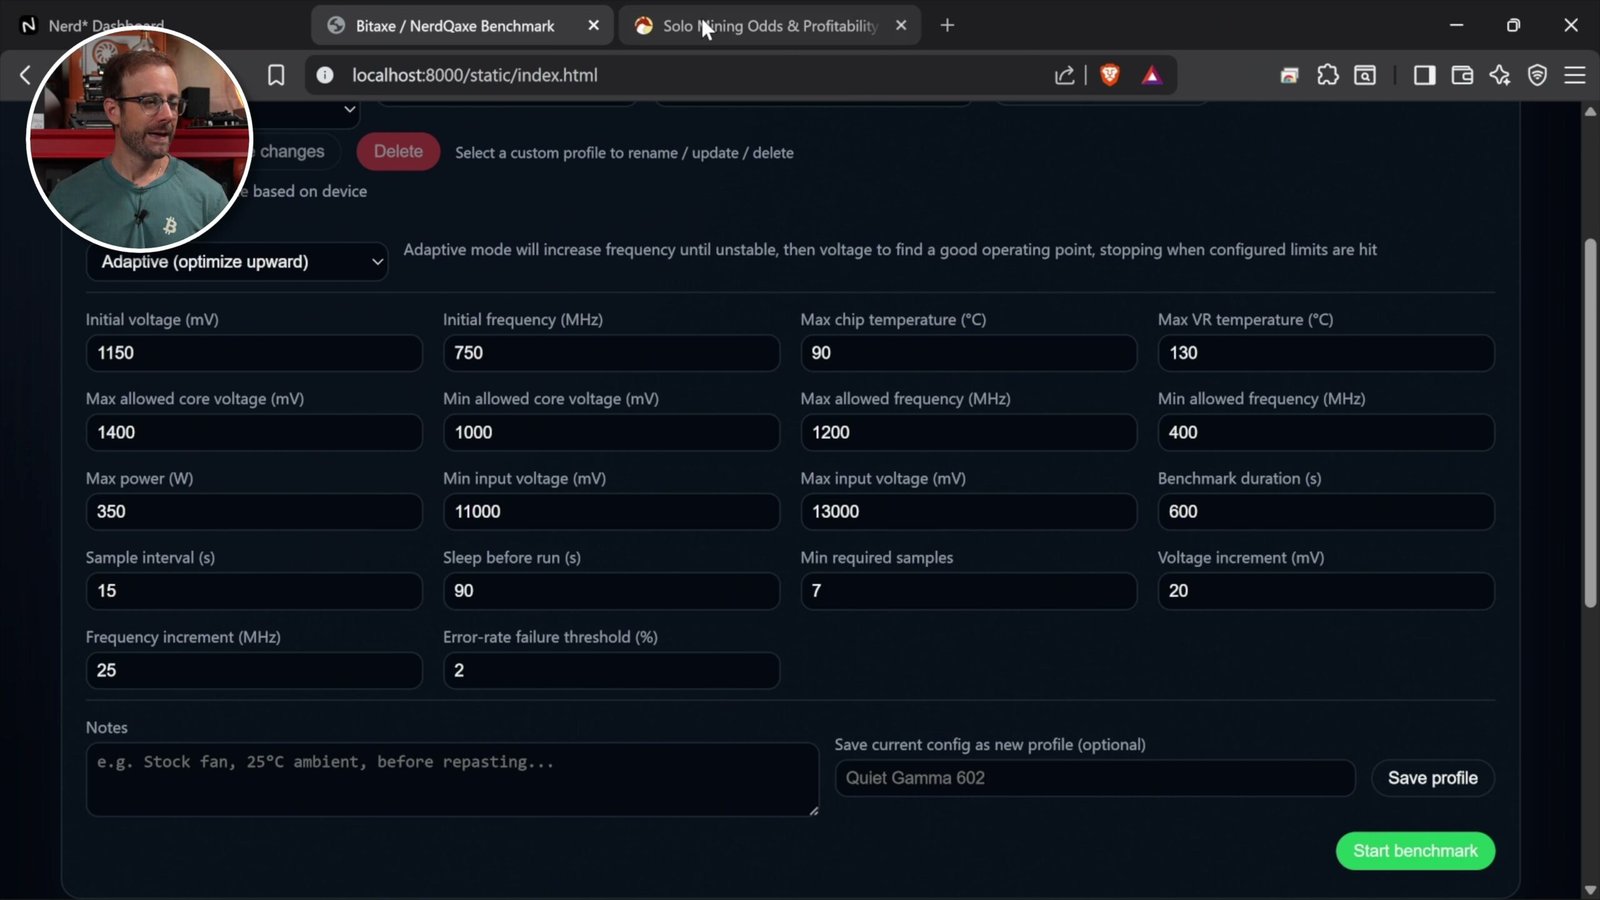
I could dive into the NerdOctaxe Hydro settings and try overclocking manually by bumping the frequency and core voltage myself, but I don’t have time for that. Instead, I’m using an automatic overclocking benchmark tool. (If you want to learn how it works and how to set it up, I’ve got a full video and written guide.)
First, I need to decide what starting voltage and frequency I want the tool to begin with. I’m using the current base values as my reference point:
- The device currently runs at 1210 mV. I want to know if I can save some power, so I lowered the starting voltage to 1150 mV to see what kind of performance I still get.
- The frequency runs at 700 MHz by default. I set the starting frequency to 750 MHz so the tool can gradually increase it until it hits a limit.
Step 2: Check Your Temperature Headroom
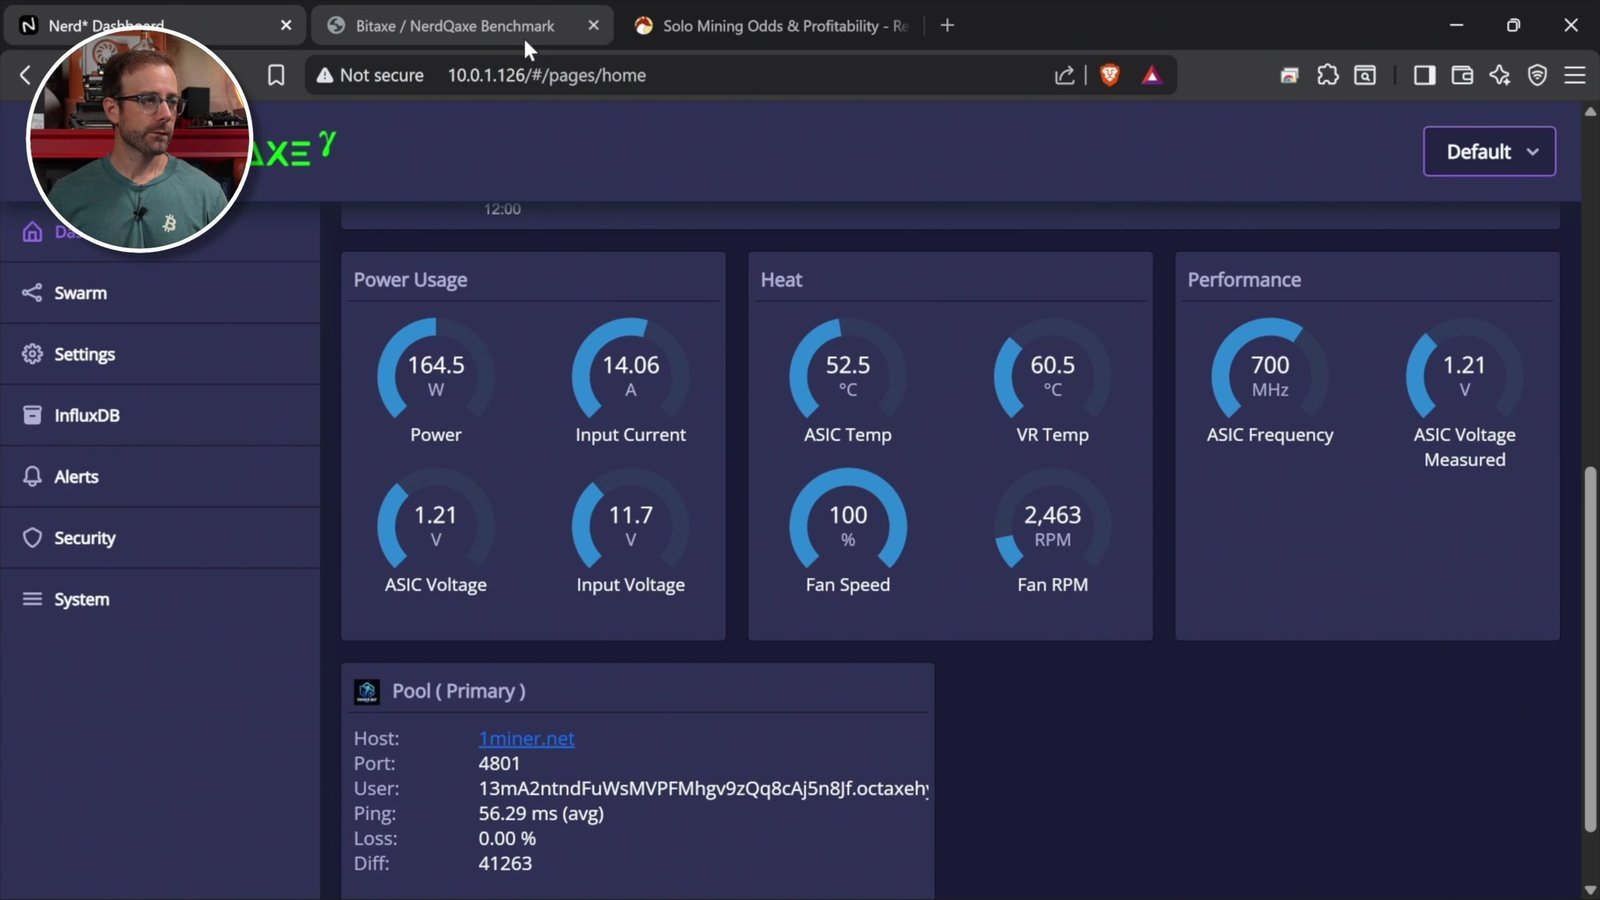
Before pushing anything, I looked at the chip temperatures and voltage regulator in the AxeOS control panel. Things looked excellent:
- ASIC chip temperature: only 52°C—tons of room to climb
- Voltage regulator temperature: under 60°C—also plenty of headroom
With numbers that cool, I felt very confident that we could push performance as far as possible. In the overclocking tool, I set the maximum chip temperature to 90°C and the maximum voltage regulator temperature to 130°C as safety limits.
A Note on Input Voltage
Here’s the one strange thing: the input voltage was dropping below 12 volts even during standard operation. I expected it to sit at exactly 12 volts or slightly higher. The problem might be in my settings, or maybe I modified something in the power supply. During overclocking, electrical resistance naturally causes the input voltage to drop, but you don’t want it to drop too far, because that means the device pulls more power from the outlet and could overload the power supply.
In my test, it set an 11 volt minimum for input voltage before the benchmark would stop. If the chip or voltage regulator gets too hot, or the input voltage drops too low, the test halts automatically. Otherwise, it keeps going by testing frequencies and gradually increasing them. If it can’t hit the target hash rate at a given frequency, it increases power in the form of voltage.
Step 3: Run the Benchmark and Read the Results
What I ultimately wanted from this benchmark was two things: the most efficient setting (best hash rate for the least power) and the maximum performance possible, regardless of energy consumption. Once you’ve dialed in your starting values and limits, all that’s left is to press start.
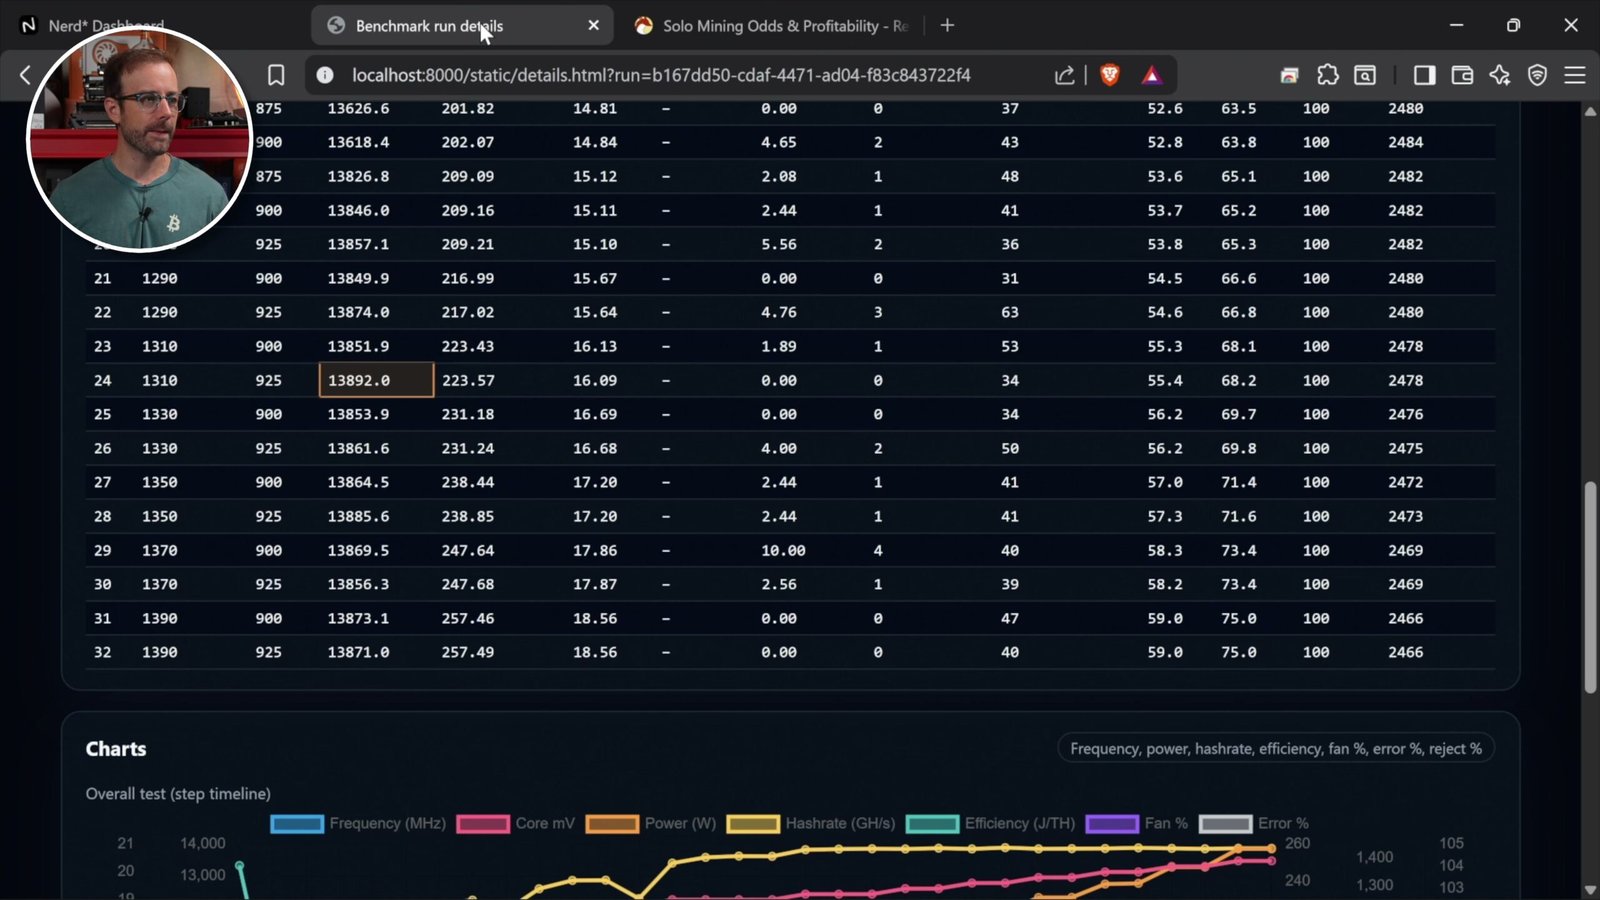
When the benchmark finished, it had tested a huge range of settings. Here are the two that matter most:
| Setting | Voltage | Frequency | Hash Rate | Power |
|---|---|---|---|---|
| Most Efficient (green) | 1190 mV | 700 MHz | 11.3 TH/s | 155 W |
| Max Performance (orange) | 1310 mV | 850 MHz | 13.9 TH/s | 230 W |
The green (most efficient) setting reached 11.3 TH/s at just 155 watts. If you want to save energy without losing much performance, that’s the optimal setting to run this device on at home.
The orange (max performance) setting pushed the voltage to 1310 mV and hit 13.9 TH/s at 230 watts—fantastic numbers, and all submissions were accepted. That 230 watts is excellent because this power supply is capable of much more, and the ASIC temperatures barely changed.
Hitting the AxeOS Limit
Here’s the interesting catch. During the benchmark, the frequency climbed to 925 MHz, but when it applied the final settings in AxeOS, the frequency only showed 850 MHz. I believe we hit a limit in the AxeOS firmware itself. Even though the benchmark tool was pushing past 850, AxeOS wouldn’t actually apply it.
And honestly, I understand that. You don’t want users, even ones who dig into the hidden secret menu, to be able to freely modify overclocking and risk damaging their hardware at home. This is basically a second layer of AxeOS constraints on maximum performance. If you want to access that hidden menu, I’ve here’s a video on how to access it.
I know you can build custom firmware to bypass these restrictions, but I can’t find that firmware anywhere. I may have to build it myself with the help of some AI tools, because I’m quite certain these chips can do more than 14 TH/s. Don’t get me wrong—I’m thrilled with roughly 14 TH/s—but I think there’s more in the tank. If you have any info email me at contact@redfoxcrypto.com.
Solo Mining Odds and Profitability
Now let’s have some fun and look at what this device can actually earn through solo mining. I ran the numbers through my personal Bitcoin mining calculator. I stacked up my two NerdOctaxe units (the original 9.6 TH/s version and the 12 TH/s v3.1) then added extra terahashes to get to 14 TH/s, which is close to what the Hydro can hit.
Bitcoin Solo Mining
At 14 TH/s, I’d expect to hit a Bitcoin block once every 1.31 years on average. Over a 30-year lifetime, my probability of hitting a Bitcoin block sits at about 2.2%. On the earnings side, projected revenue is around 42 cents per day. If Bitcoin returns to its all-time highs, that could jump to roughly 83 cents per day.
Mining Other Networks
Since this is a SHA-256 device, I checked what else it could mine:
- Bitcoin Cash: one block roughly every 5 years
- DigiByte: a block about every 4.5 days
So the opportunities to profit, or at least have a realistic shot at a block, are absolutely there.
Where to Buy the NerdOctaxe Hydro
If you want to grab a NerdOctaxe Hydro for yourself, it’s the kind of device you’ll want to source from a trusted mining hardware retailer. Availability moves fast on these small-batch units, so check current availability before you commit. And a huge thank you to all the manufacturers, developers, and designers building these incredible home mining units. It’s so much fun, and we’re lucky to have you.
Watch the Full Video Guide
If you want to see the overclocking benchmark tool in action and watch every step of this process live, hit play on the full video above. Subscribe to Red Fox Crypto for more hands-on home mining breakdowns, and let me know in the comments if you can help me push these chips past the AxeOS limit.
Frequently Asked Questions
What is the NerdOctaxe Hydro?
The NerdOctaxe Hydro is a home Bitcoin mining ASIC with eight water-cooled chips. It runs AxeOS, uses a 30-amp fuse, and can reach roughly 14 TH/s when overclocked, making it a big step up from single-chip devices like the Bitaxe.
What’s the most efficient setting for the NerdOctaxe Hydro?
In my benchmark, the most efficient setting delivered 11.3 TH/s while consuming only 155 watts. If you want to keep energy costs low at home without giving up much hash rate, that’s the setting I’d recommend running.
How much hash rate can it produce overclocked?
At the max performance setting, the device hit 13.9 TH/s at 230 watts with the voltage pushed to 1310 mV. I believe it could go higher, but AxeOS appears to cap the applied frequency at 850 MHz with the current firmware.
What are my odds of solo mining a Bitcoin block with 14 TH/s?
At 14 TH/s, you’d expect to find a Bitcoin block roughly once every 1.31 years on average, with about a 2.2% chance over a 30-year span. Projected revenue is around 42 cents per day, or up to 83 cents at all-time-high prices.
Can the NerdOctaxe Hydro mine other coins?
Yes. As a SHA-256 device it can mine Bitcoin Cash (a block about every 5 years), DigiByte (a block roughly every 4.5 days), and other SHA-256 coins like Quai.