
If your Bitaxe is running way below its rated hash rate and throwing high error rates, there’s a good chance it’s overheating and downclocking itself to survive. I ran into exactly this problem with two Bitaxe Gamma 601’s and the fix turned out to be simpler than you’d think. In this guide, I’ll walk you through how to diagnose an overheating Bitaxe and repair it by replacing the thermal paste.
In this guide, you’ll learn:
- How to spot the symptoms of an overheating Bitaxe in AxeOS
- Why your miner keeps resetting itself to lower clock speeds
- What thermal paste does and why a bad application causes overheating
- How to safely open up your Bitaxe Gamma 601
- How to clean and reapply thermal paste on the BM1370 ASIC chip
- What kind of temperature and hash rate improvement to expect
Table of Contents
- What’s Actually Happening When a Bitaxe Overheats
- Why Thermal Paste Matters
- Tools You’ll Need
- Step 1: Remove the Bitaxe From Its Stand
- Step 2: Release the Cooler From the PCB
- Step 3: Inspect the Thermal Paste
- Step 4: Clean the ASIC and Heat Sink
- Step 5: Apply New Thermal Paste
- Step 6: Reassemble the Cooler
- The Results: A Huge Improvement
- Where to Buy a Bitaxe
- Watch the Full Video Guide
- Frequently Asked Questions
- More Bitcoin Mining Guides
What’s Actually Happening When a Bitaxe Overheats
Let me start by showing you the symptoms, because this is how you’ll know your Bitaxe has the same issue. When I opened up AxeOS on the first unit (the Power Mining branded one), the hash rate was coming in at around 900 gigahash. That’s a problem, because a healthy Bitaxe Gamma 601 should be hitting somewhere in the neighborhood of 1.1 to 1.2 terahash per second.
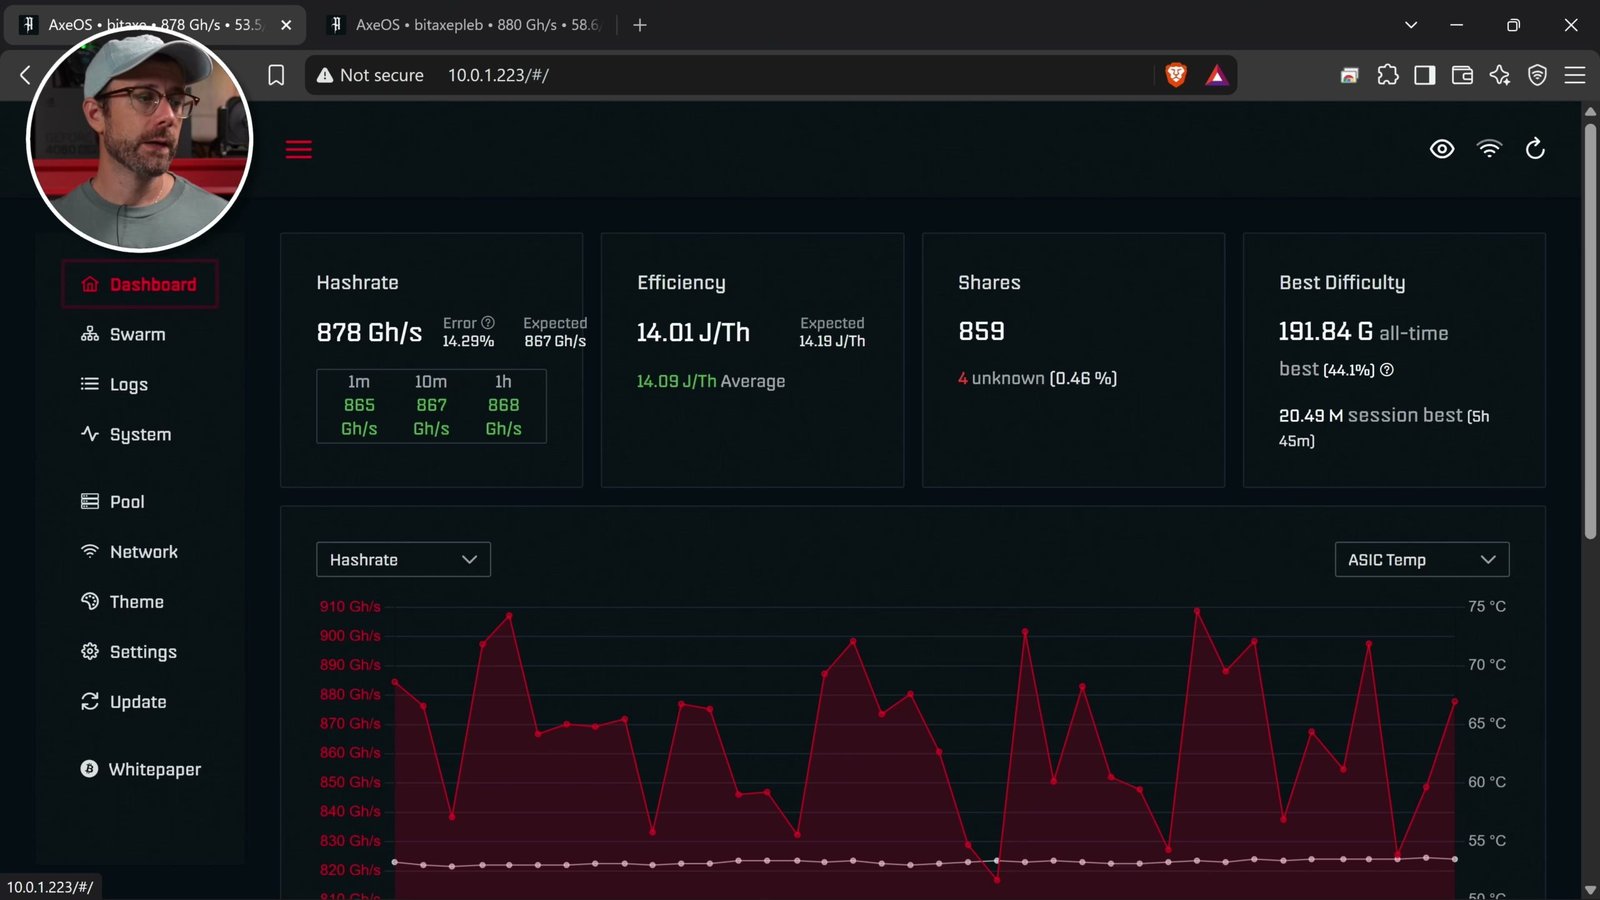
On top of that, the error rate was sitting at 15%, which is very high. And the second unit, the Pleb Source branded one, was even worse: same low hash rate, but a ridiculous 33% error rate. That’s no good at all.
The Tell-Tale Sign: Custom Clocks That Won’t Stay Reset
Here’s the smoking gun. When I went into settings, both miners were running their clocks far below the default frequency and core voltage they should be running at. So I reset them back to stock. But then I’d navigate away, come back, and suddenly they were right back at those lower custom settings.
That’s the miner protecting itself. When I set it back to default clocks, the ASIC temperature instantly shot up, the device overheated, and it downclocked itself automatically. Then it kept running at that lower, safer clock speed. One of them overheated the very second I applied the default settings.
Here’s the key detail: these ran totally fine when I first got them. That tells me this isn’t a design flaw. Something degraded. And in my experience, that something is almost always the thermal paste.
Why Thermal Paste Matters
Thermal paste sits in between the ASIC chip and the heat sink. Its whole job is to allow the transfer and dissipation of heat produced by the ASIC chip, and on a Bitaxe, that chip is doing all the hard calculations that generate the heat in the first place.
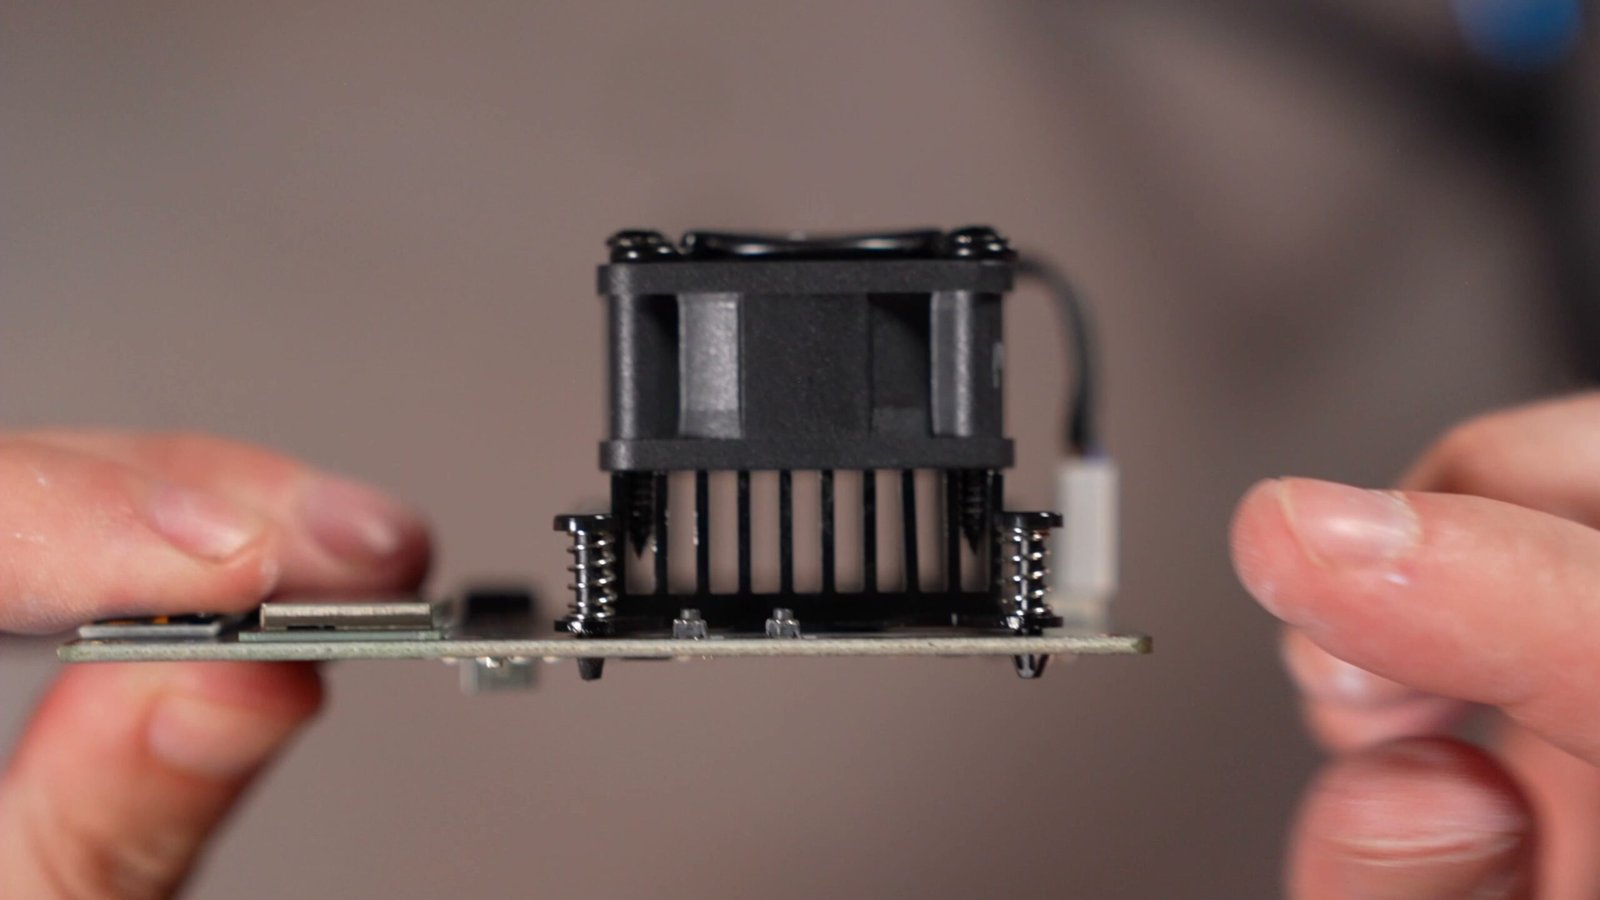
If that thermal paste has failed, dried out, or was applied poorly at the factory, heat can’t move from the chip to the heat sink efficiently. The chip cooks itself, hits its temperature ceiling, and the miner throttles down to keep from frying. That lines up perfectly with everything I was seeing.
Tools You’ll Need
- A quality Phillips-head screwdriver kit (I use an iFixit kit, great for all kinds of electronics)
- A pair of tweezers or pliers for those nightmare push pins
- Isopropyl alcohol
- Lint-free science tissues or wipes
- Thermal paste (I used MX-5, which I had on hand)
Step 1: Remove the Bitaxe From Its Stand
I decided to open up the Pleb Source unit first, since it was the worse of the two. That way we’d definitely know if we were making an improvement.
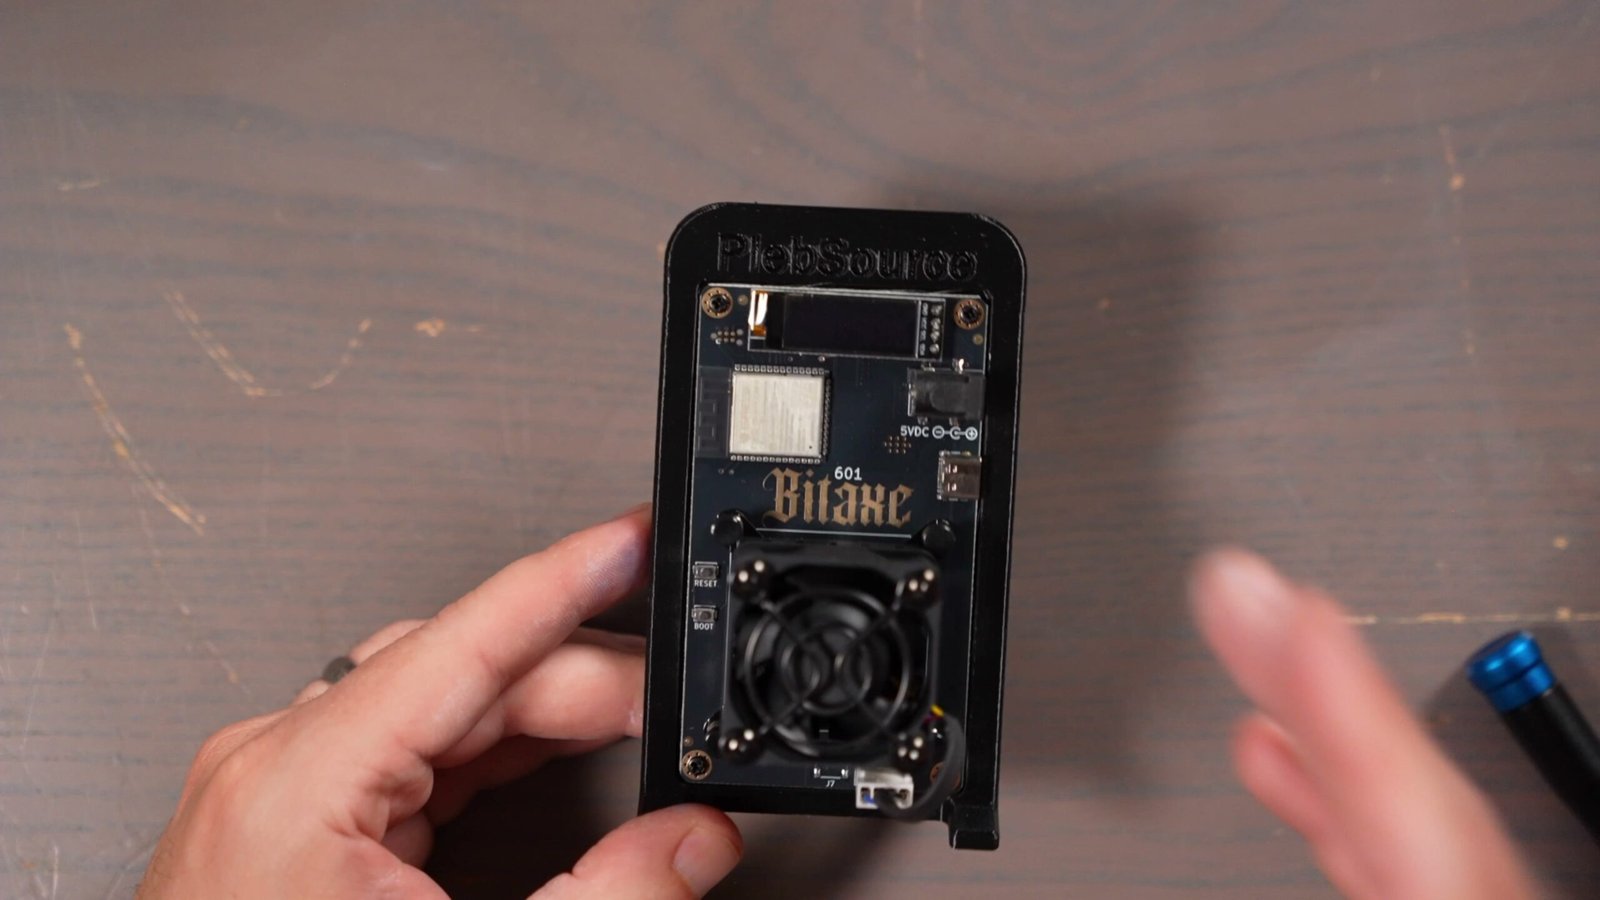
Start by taking out the four Phillips-head screws surrounding the board that hold it onto the 3D-printed stand. Once all four are out, the board lifts right off the stand, giving you full access to the cooler.
Step 2: Release the Cooler From the PCB
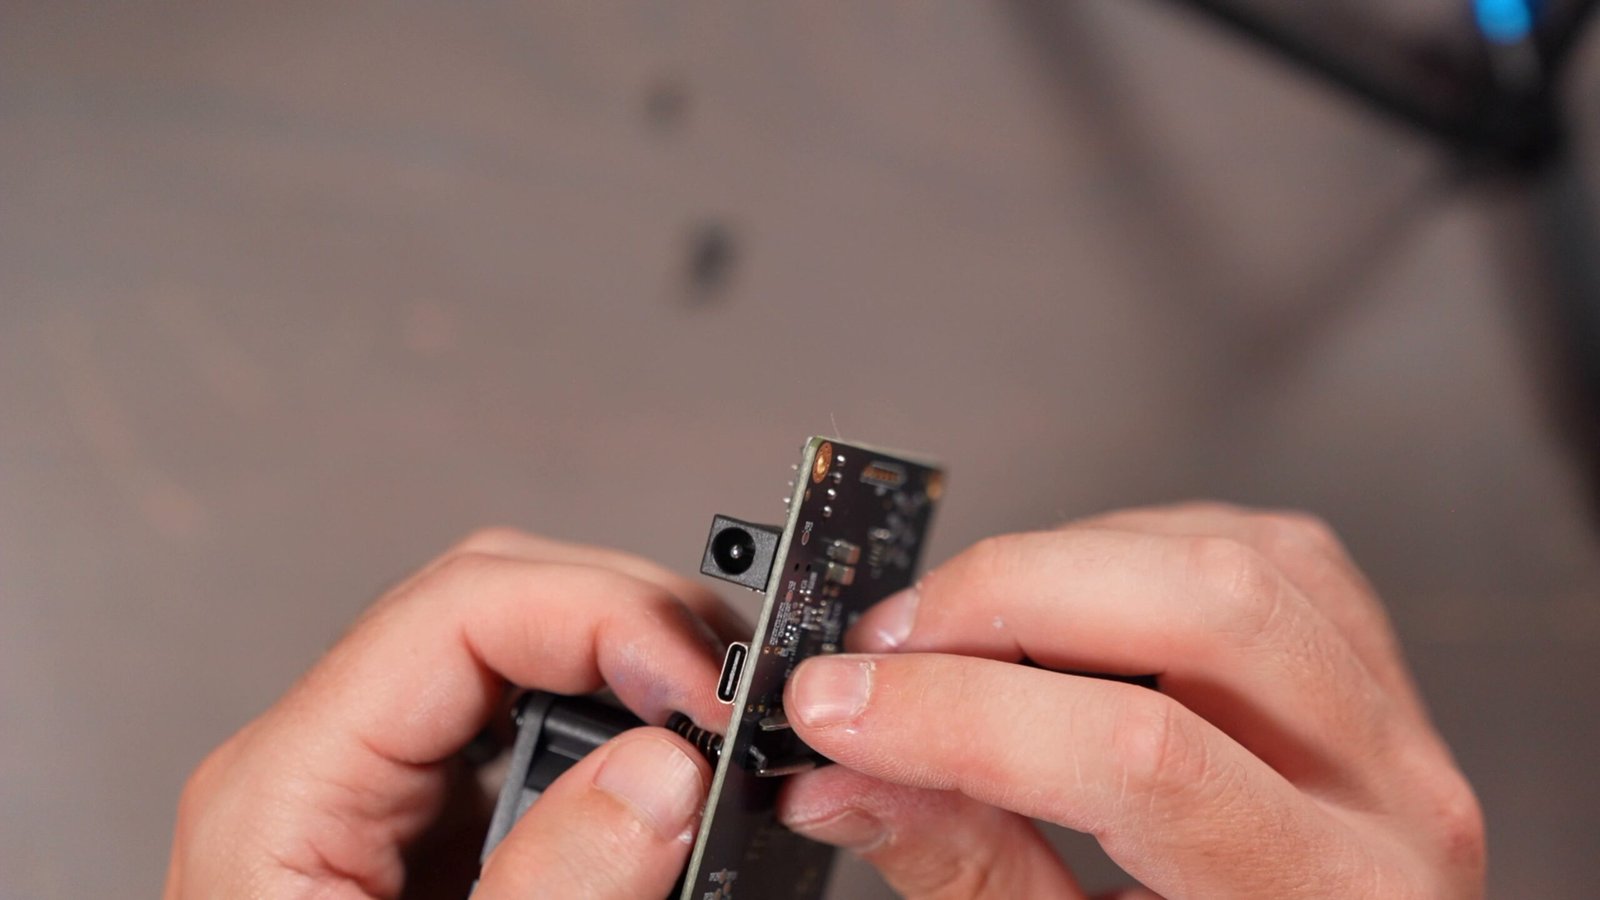
This is the toughest part of the whole job. The heat sink is held onto the PCB with push pins, the kind that go in beautifully one way and fight you the whole way coming out. You have to squeeze them together and push them back through the board.
I used a pair of pliers to pinch each pin and pop it through. There are four of them, and honestly, my fingers were killing me by the end. Take your time and work them one at a time. Don’t forget to unplug the fan too before you fully separate everything.
Step 3: Inspect the Thermal Paste
Once I got the cooler off, the problem was obvious. There was a big gap in coverage on the cooler side, and a big gap on the ASIC side too. All of the thermal paste had migrated around the ASIC chip instead of sitting on top of it. Whoever assembled this thing was clearly not looking at what they were doing.
That kind of poor coverage is exactly why the chip couldn’t dump its heat into the heat sink.
Step 4: Clean the ASIC and Heat Sink
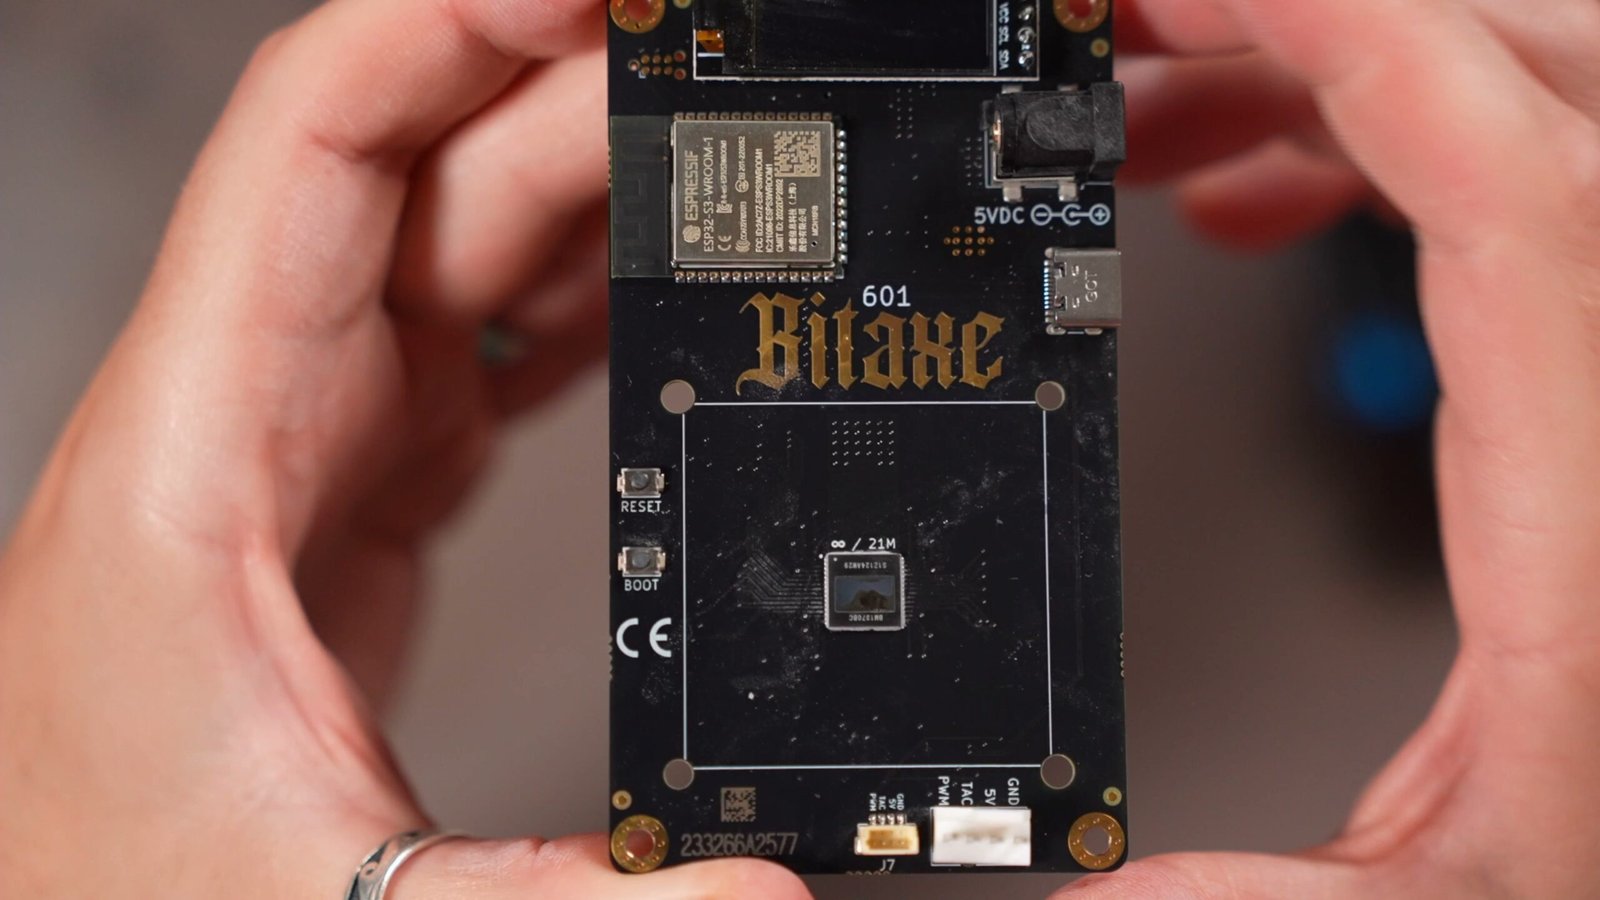
Put a little isopropyl alcohol on a science tissue and clean off both the ASIC chip and the heat sink surface. Once it’s cleaned up, you’ll see the bare BM1370 ASIC chip from Bitmain. On the Pleb Source unit, the chip looked really good underneath, nice and clean.
Step 5: Apply New Thermal Paste
Now for the fun part. I used MX5, but any quality thermal paste will do. Remember, this is a really tiny chip, so you don’t need much at all, just a really tiny amount.
I like to spread it out manually rather than relying on the heat sink pressure to squish a blob evenly. That way you know for sure you’ve got coverage, and if you need a bit more, you can add it. Personally I think a thin, even spread across the whole chip surface is the way to go.
Step 6: Reassemble the Cooler
Plug the fan back in first so you get the orientation right, then push those push pins back into place. Work in a cross pattern (do one, then go to the opposite corner) to keep the pressure uniform as the thermal paste squishes down. Double-check that all the pins have popped through the back of the board, then set it back in its stand.
The Results: A Huge Improvement
After buttoning it back up, the Pleb Source Bitaxe was a completely different machine. Here’s how the two units compared before and after the fix:
| Metric | Pleb Source (Before) | Pleb Source (After) | Power Mining (After) |
|---|---|---|---|
| Clock Settings | Downclocked | Stock default | Stock default |
| Hash Rate | ~900 GH/s | ~1.1 TH/s | ~1.1 TH/s |
| Error Rate | 33% | Way down | Improved |
| ASIC Temp | Instant overheat | 56.4°C | 67.3°C |
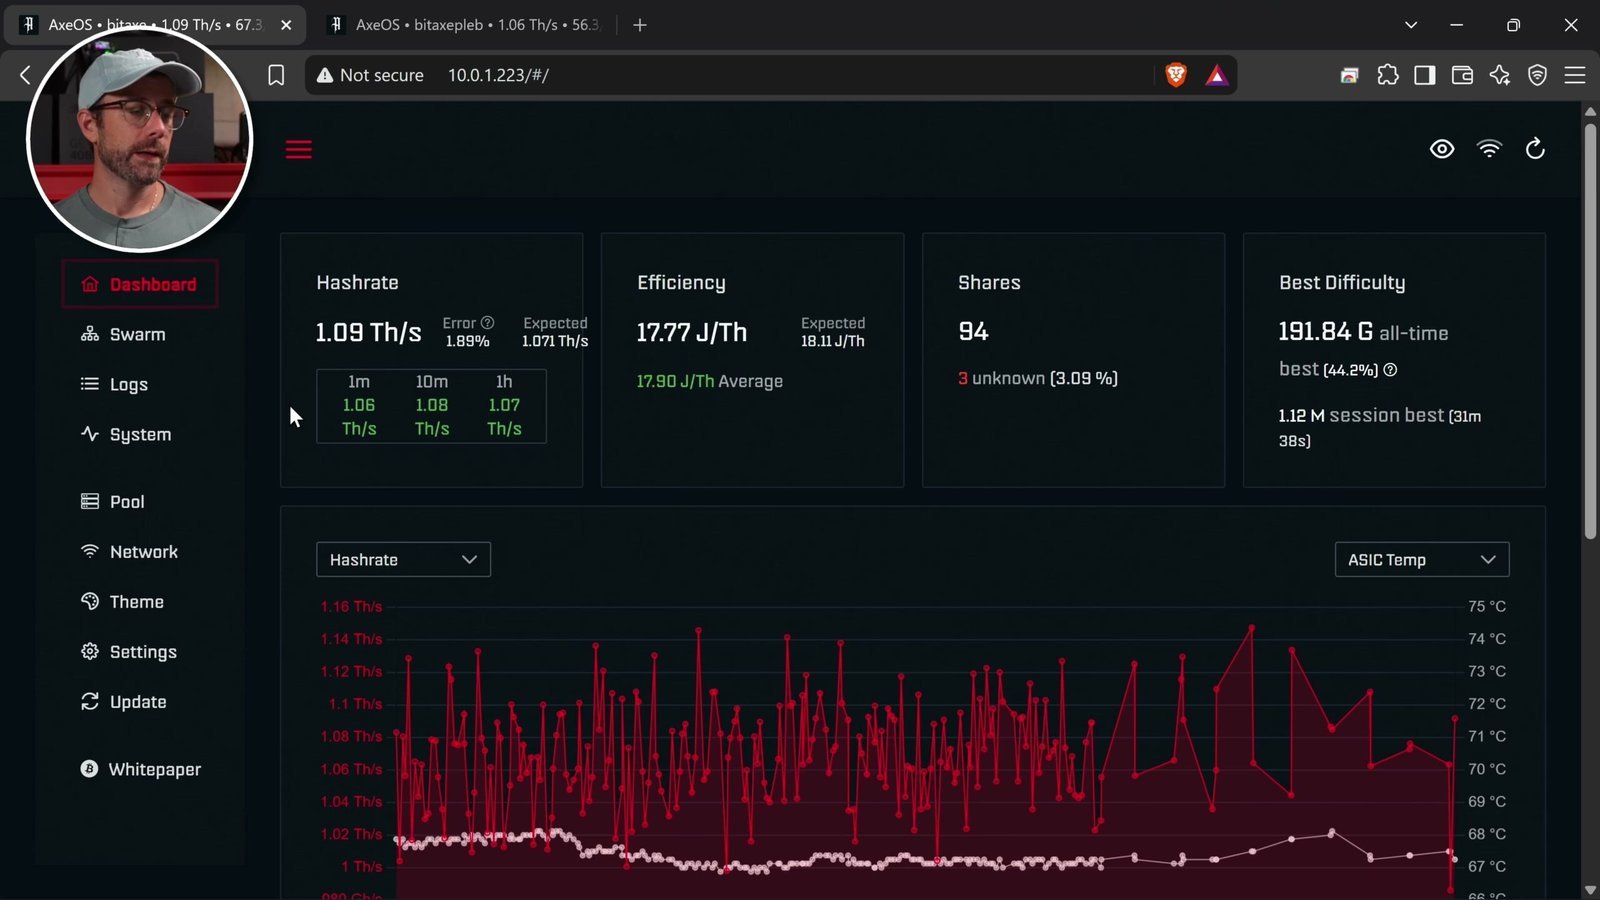
The Pleb Source unit now runs at its stock default frequency and core voltage, pulls about 1.1 terahash per second, and sits at a comfortable 56.4°C. The error rate dropped dramatically too. I’d still like to dial that error rate down a little more, but that’s a topic for another video. This was really wonderful to see.
Why Did the Power Mining Unit Run Hotter?
Off camera, I did the exact same repair on the Power Mining branded unit, same MX5 paste, same technique. The results were better than before, but not great. It’s also hitting around 1.1 terahash, but the temperatures are much higher: 67.3 to 67.5°C, roughly 10 degrees hotter than the Pleb Source unit.
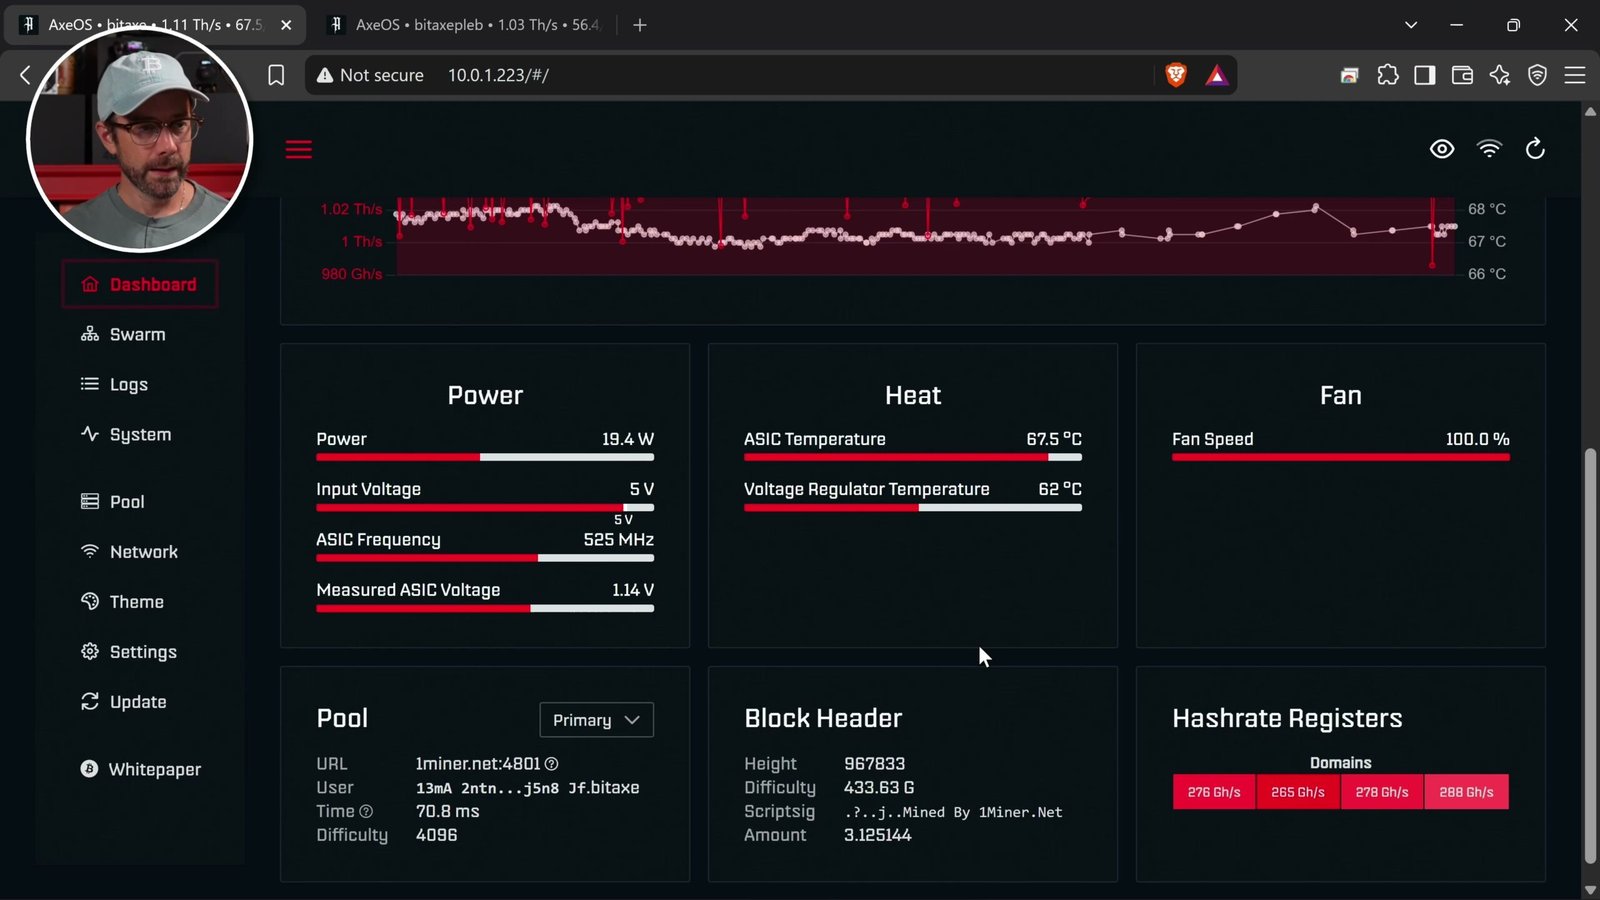
What’s strange is that the Power Mining unit arguably has a bigger, better fan and heat sink solution, and bigger usually means better cooling. But when I opened it up, the ASIC chip itself didn’t look so good, almost like it was flaking or falling apart. I’m not sure if that’s normal wear or if something’s wrong with the chip itself. If you’ve got a theory, drop it in the comments and help the community out.
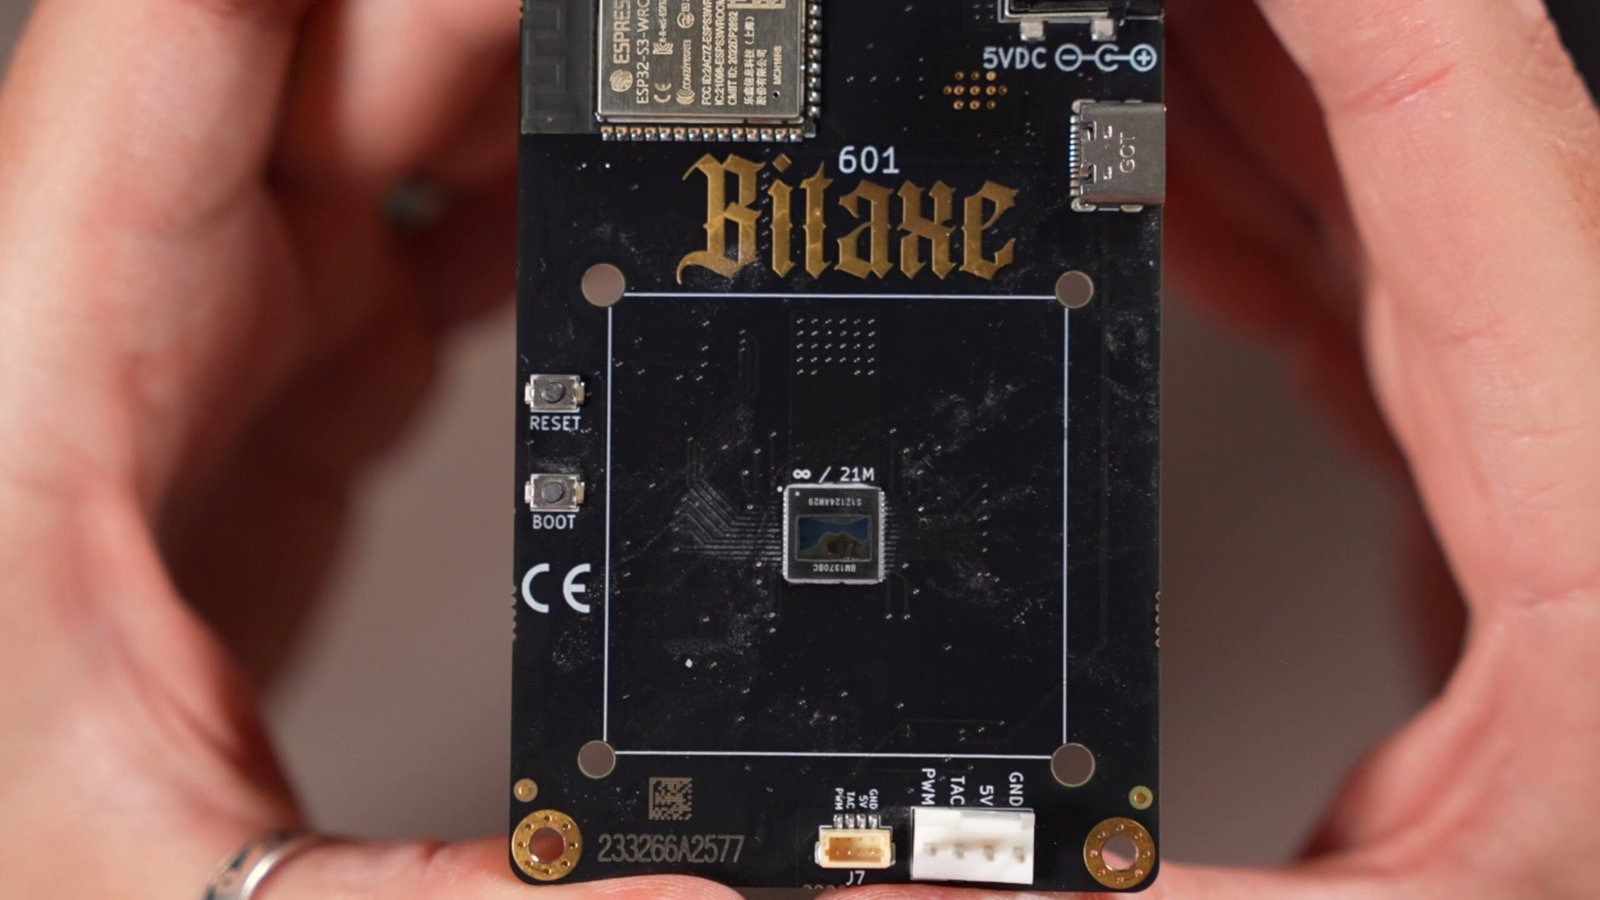
The practical result: at 67°C there’s no headroom to overclock the Power Mining unit, whereas the cooler Pleb Source unit has room to push further.
Where to Buy a Bitaxe
If you’re shopping for a Bitaxe Gamma 601 of your own, or you need the repair supplies like the iFixit screwdriver kit, thermal paste, and isopropyl alcohol I used in this guide, I keep everything linked in my video descriptions. You can check current availability for the latest options.
Watch the Full Video Guide
Seeing the disassembly and thermal paste job in action makes this whole repair a lot less intimidating, so watch the full video above to follow along step by step. If it helped you, subscribe to Red Fox Crypto for more home mining tutorials and troubleshooting guides.
Frequently Asked Questions
How do I know if my Bitaxe is overheating?
Open AxeOS and check your hash rate, error rate, and ASIC temperature. If your Gamma 601 is hitting only ~900 GH/s instead of 1.1–1.2 TH/s, showing a high error rate, and keeps resetting itself to lower clock speeds after you set defaults, it’s overheating and downclocking to protect itself.
Why does my Bitaxe keep resetting to lower clock speeds?
That’s the miner’s self-protection kicking in. When the ASIC temperature climbs too high at default clocks, the device automatically downclocks itself and keeps running at the safer, lower speed. It’ll do this repeatedly until you address the underlying cooling problem, usually the thermal paste.
What thermal paste should I use on a Bitaxe?
Any quality thermal paste works. I used MX-5 because I had it on hand. The BM1370 ASIC is a very small chip, so you only need a tiny amount. I recommend spreading it thin and evenly across the whole chip surface rather than relying on a blob.
What’s the hardest part of opening a Bitaxe?
Honestly, the push pins that hold the cooler to the PCB. They sink in easily one direction but you have to squeeze them together and push them back through the board to remove them. A pair of tweezers or pliers helps a lot. Otherwise, the disassembly is not complicated at all.
What temperature should a Bitaxe run at?
After a good thermal paste job, my Pleb Source unit settled at 56.4°C running stock clocks, which left room to overclock. The Power Mining unit ran at about 67°C with the same paste, which was working but too hot for overclocking. Cooler is better, and lower temps give you more headroom to push performance.